
Bitbucket Installation
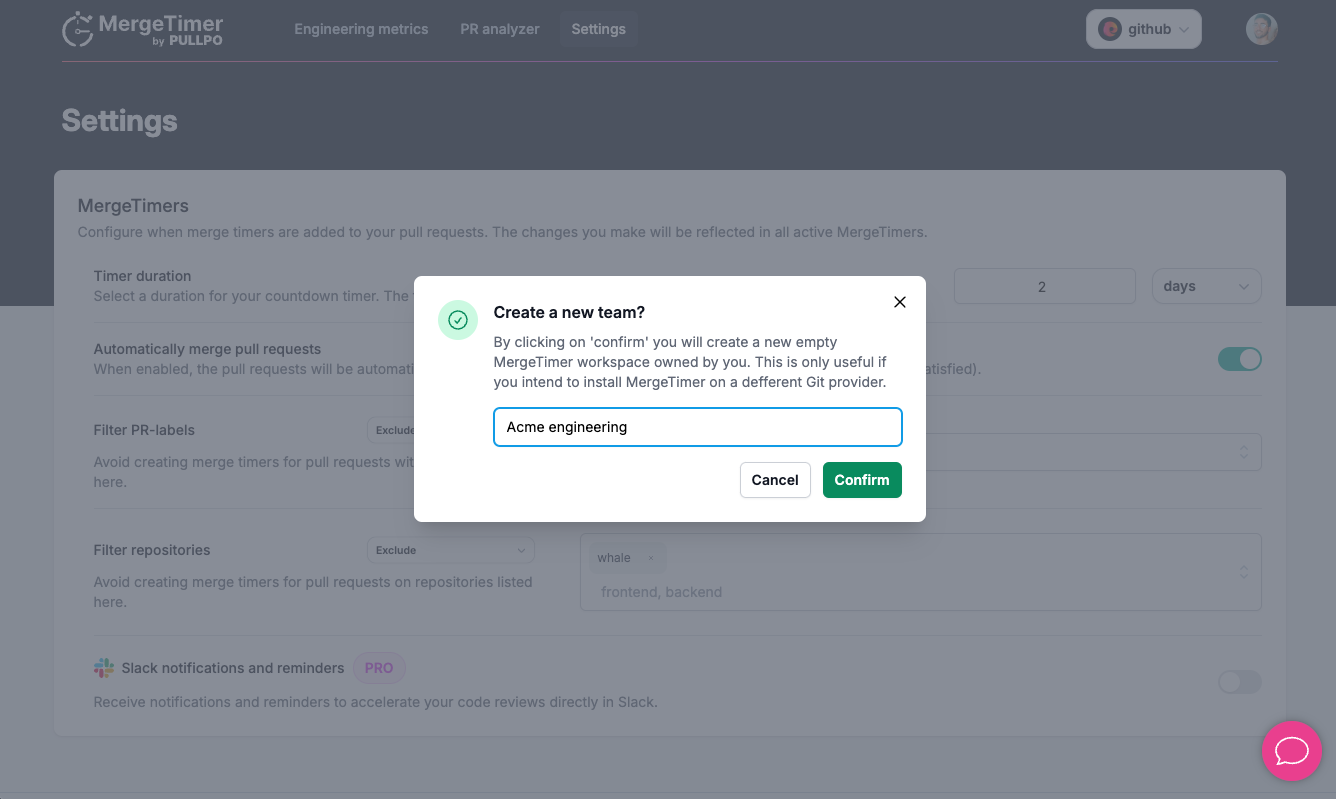
1. Create a team in MergeTimer
You can create different teams for various organizations. This way its easier to manage multiple teams with different GIT providers using the same user.
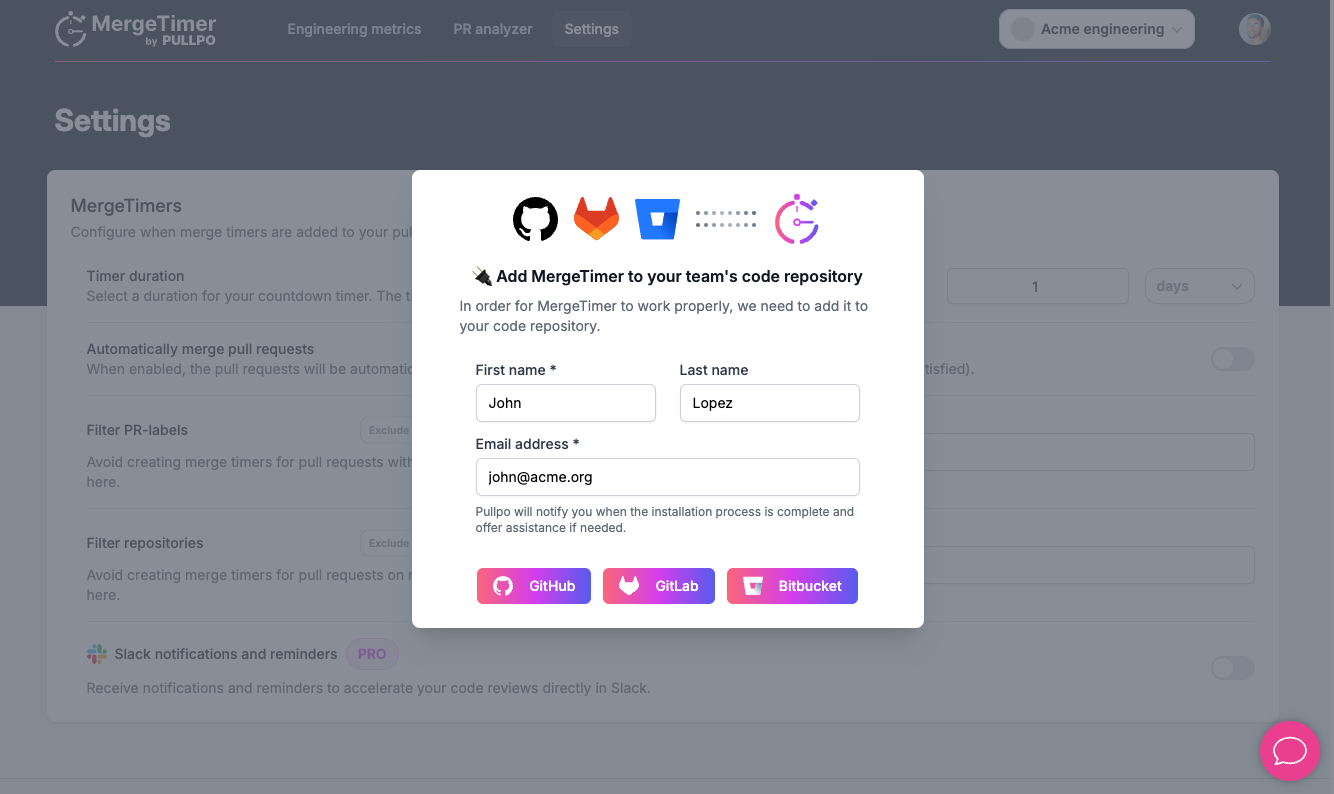
2. Fill your contact info.
We need your contact info in order to send relevant updates and notifications. This information helps us keep you informed about important changes and improvements. Rest assured, we won't send spam or share your contact details with third parties.
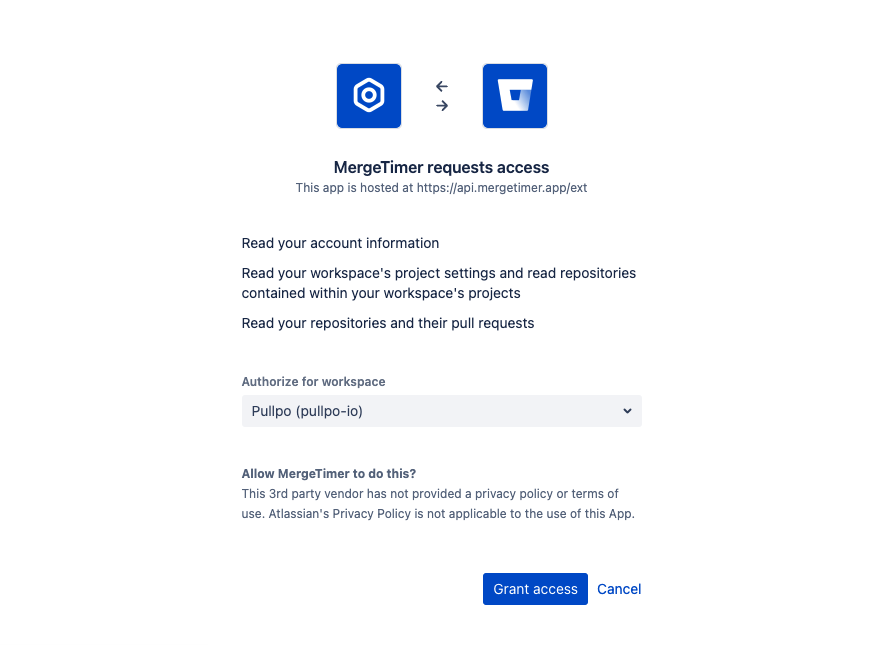
3. Choose the right workspace and accept permissions to install MergeTimer.
You can install MergeTimer in multiple workspaces, or even on an individual account. However, you need to create a team for every new installation, as mentioned in step 1. After selecting the workspace, you will be prompted to accept the necessary permissions for MergeTimer to function correctly. These permissions are required to integrate seamlessly with your repositories and provide the best experience. Once you have reviewed and accepted the permissions, click on the "Install" button to complete the installation process.