🚀 Getting Started with MergeTimer
Welcome to MergeTimer! Follow these simple steps to get started and make the most out of our tool.
Step 1: Install MergeTimer
First, you need to install MergeTimer for your preferred GIT provider. We support GitHub, GitLab, and Bitbucket. Follow the installation instructions for your platform:
Step 2: Create a Team
After installing MergeTimer, create a team in the MergeTimer app. This will help you manage multiple teams with different GIT providers using the same user account.
Step 3: Configure Your Settings
Once your team is set up, configure your settings to tailor MergeTimer to your workflow. For detailed instructions, visit the Settings Page.
Step 4: Start Using MergeTimer
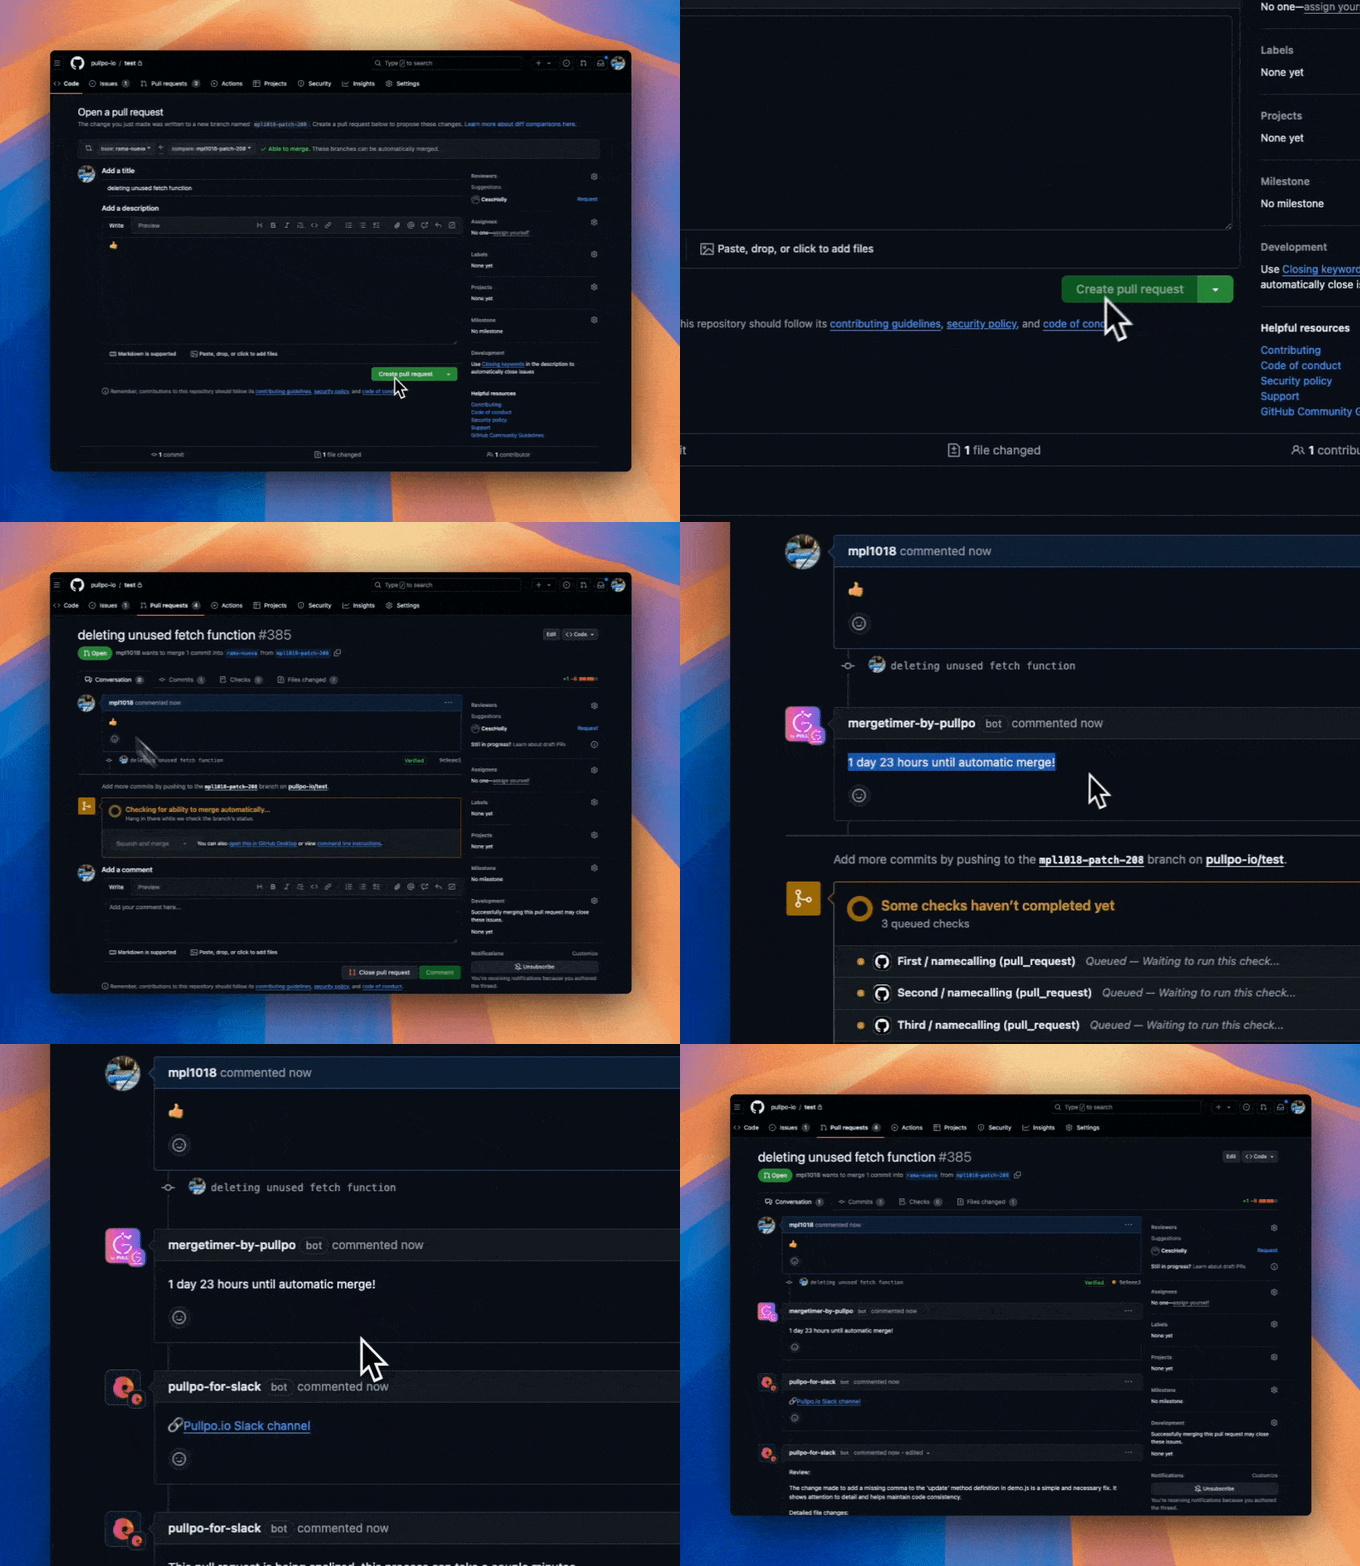
With your settings configured, you can now start using MergeTimer. Create pull requests as usual, and MergeTimer will automatically start a timer for each PR. Collaborate with your team to review and merge code efficiently before the timer runs out.

Best Practices
To get the most out of MergeTimer, follow these best practices:
- Do small PRs to keep code reviews fast and efficient.
- Improve your communication with conventional comments and other rules.
- Reply fast to code review messages, but don't break your flow state.
For more tips and best practices, check out our Best Practices Page.
If you encounter any issues or have questions, feel free to reach out to our support team. We're here to help you succeed with MergeTimer.

